
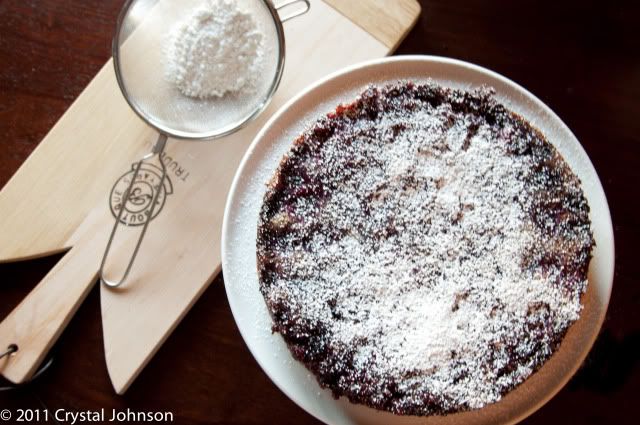
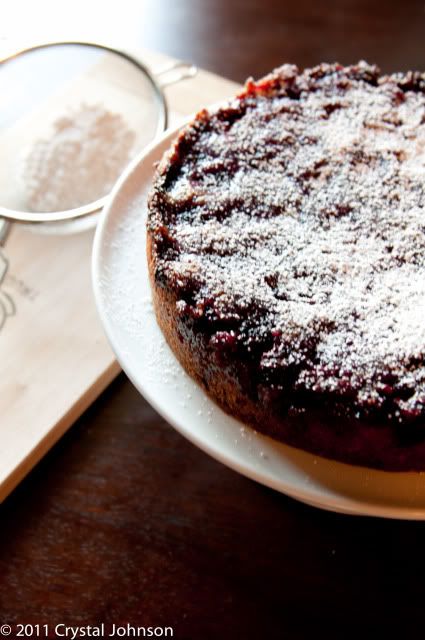
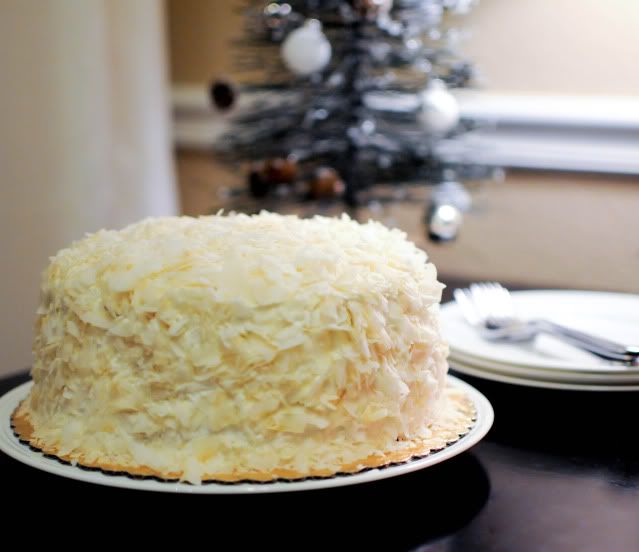
Fudgy Chocolate Layer Cake with Coconut Frosting
Adapted from Food & Wine an entire year of recipes 2006
and Ready for Dessert: My Best Recipes by David Lebovitz
Ingredients:
Chocolate Cake1 1/2 cups sugar
1 1/4 cups all-purpose flour
3/4 cup unsweetened dutch process cocoa powder, sifted
2 1/2 teaspoons baking powder
1 1/2 teaspoons baking soda
1/8 teaspoon salt
1 cup buttermilk
3 large eggs
2 1/2 teaspoons pure vanilla extract
6 tablespoons unsalted butter, softened
1 cup hot coffee
Filling:
1 1/4 plus 1/4 cup 2% or whole milk
1/2 cup sugar
1 teaspoon vanilla
2 tablespoons cornstarch
5 large egg yolks
1 cup dried unsweetened shredded coconut (find this in the bulk section of your market)
Rum Syrup:2/3 cup water
1/2 cup sugar
3 tablespoons dark rum
Whipped Cream:1 1/4 cups heavy cream
1 1/2 tablespoons sugar
1/4 teaspoon vanilla
1 1/4 cups dried unsweetened or sweetened shredded or large flake coconut, toasted
Preparation:
Preheat the oven to 325F. line the bottoms of three 8-inch round cake pans with parchment paper. Spray the cake pans and the parchment paper with vegetable oil cooking spray.
In a the bowl of a stand mixer, whisk the sugar with the flour, cocoa powder, baking powder, baking soda, and salt. In a small bowl, whisk the buttermilk with the eggs and the vanilla extract. In another small bowl, melt the butter in the hot coffee.
Using a stand mixer, beat half of the buttermilk and egg mixture into the dry ingredients at low speed. Beat half of the coffee mixture into the batter, then scrape down the bowl. Beat the remaining buttermilk and coffee mixtures into the batter until they are incorporated.
Pour the batter into the prepared pans, dividing it evenly, and bake for 25 to 30 minutes, rotating the pans halfway through baking, until the cakes are springy to the touch. Let the cakes cool in the pans for 10 minutes, then turn them out onto a rack to cool completely. Peel the parchment paper off the bottom of the cakes.
To make the filling, in a medium saucepan over medium heat, warm the 1 1/4 cups milk with the sugar and vanilla.
In a small bowl, whisk together the cornstarch and the remaining 1/4 milk until completely smooth. In a medium bowl, whisk the egg yolks until combined.
When the milk-sugar mixture is hot, stir the cornstarch mixture to recombine, then whisk it into the saucepan. Cook, stirring constantly, until the mixture thickens. While whisking constantly, pour about one-third of the hot thickened milk into the egg yolks, then scrape the yolk miture into the saucepan. Cook, stirring constantly and scraping the bottom of the pan, just until the mixture begins to boil (it will be very thick). Pour the mixture into a clean bowl. Stir in the 1 cup coconut, cover, and refrigerate until chilled.
To make the syrup, warm the water and the 1/2 cup sugar, stirring until the sugar dissolves. Remove from the heat, add the rum, and let cool to room temperature.
To assemble the cake, place one cake layer on a serving plate and brush with the rum syrup. Evenly spread half of the filling on top of the cake layer. Cover it with a second layer. Brush the second layer with the rum syrup; spread the remaining half of the filling. Place the final cake layer on top and brush with the rum syrup.
Cover with plastic wrap and refrigerate the cake for at least 4 hours or up to overnight.
To make the whipped cream and finish the cake, in a stand mixer fitted with the whip attachment, whisk the cream until it just begins to hold its shape. Whisk in the sugar and the vanilla until stiff; don't over beat.
Using an icing spatula, spread the whipped cream evenly over the top and sides of the cake. Cover the top and sides of the cake with the toasted coconut by sprinkling coconut on the top of the cake and pressing some around the sides with your hands.


